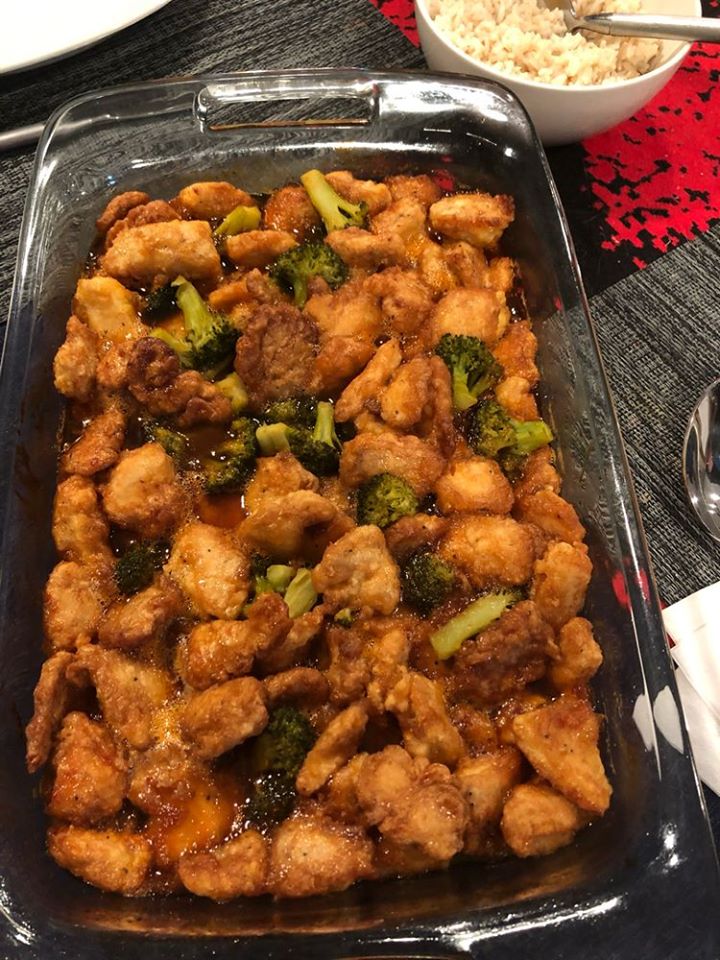
Easily the most popular recipe on my blog, this baked sweet and sour chicken is a miracle of a dish. Baked, not fried, it has been a family favorite for over a decade!
Invented on a college budget almost 20 years ago, this baked sweet and sour chicken is the most popular recipe on my blog. And even better, it still remains one of our family favorites.
You may have seen this recipe floating around the internet; it’s everywhere! And for good reason. It’s crazy delicious.
But I’m happy (and yes, a little proud) to acknowledge that the delectable sweet and sour chicken recipe originated here (posted way back in 2008, it was one of the first recipes I ever shared on my blog!).
With over 800 comments, 50+ 5-star reviews, and almost half a million pins/shares, that quick glance will tell you there is something special about this recipe.
If you’re new to the world of baked sweet and sour chicken, let me give you a quick rundown.
First, this recipe, while delicious and absolutely and totally worth it, is going to be a bit more work than your average Tuesday night spaghetti.
It’s not complicated. It’s not hard. But it’s also not a 30-minute meal. So with that caveat in place, here’s the 5-second overview.
Chicken pieces are coated in cornstarch followed by a quick dunk in a bath of lightly beaten eggs. They are then dropped into a piping hot skillet with a smidgeon of oil and browned quickly before being crammed in a single layer in a baking pan.
The super easy sauce is whisked together, poured on top, and the whole sweet and sour chicken concoction bakes for about an hour.
There is just the right amount of sauce for the breaded chicken pieces to bake in without becoming saturated and soggy (and allowing the sauce to thicken and caramelize while baking).
But if you are a saucy kind of person (like my husband), as I mention in the notes of the recipe, you can very easily whip up another batch of sauce, simmer it on the stove, and serve it alongside the tender, amazing, baked sweet and sour chicken.
Because this recipe has been around for a long time and because there have been a lot of questions in the comments, I’ve put together a quick FAQ for your reading pleasure.
That way you can take a look at some of the most asked questions and the answers without having to filter through hundreds of comments.
SWEET AND SOUR FAQ:
Question: Can I cut down the sugar?
Answer: Many people have commented that they have reduced the sugar to 1/2 cup and I’ve done the same (if not more) over the years, too.
Question: The vinegar smell is really overpowering when I bake this. Is that normal?
Answer: Yes. Vinegar, while baking, gives off a strong aroma, but the strong aroma/taste bakes off during the recommended time in the recipe leaving a delicious sweet and sour taste.
Question: Can I cut down on the amount of vinegar because of the aforementioned question?
Answer: That’s up to you. Many people in the comments have adapted the recipe ingredients; however, other than sometimes reducing the sugar to 1/2 cup and using a different type of vinegar (see the question below), I make the recipe as written and can’t vouch for results for other adaptations. I have made this sweet and sour chicken recipe at least 50 times (probably more) and even though the vinegar seems overpowering, the recipe works. Promise. If you are determined to adapt the vinegar, several others have used half vinegar and half pineapple juice for a milder taste (but you’ll lose a bit of the sweet and sour punch).
